Page Contents
Introduction
Output Time is a web based application which can be installed on any web server, windows PC or can be hosted on service Providers.
- If you have a web-server and prefer to host the application directly, you can Download Web-App Installer.
- If you have a Windows PC and don’t have access to a web-server, you can download Output Time Windows Standalone Server Installer. Click here for more details.
On-Premises Output Time Application can be installed in your Server by our technical team for free.
System Requirements
The following are the requirements of your system to install Output Time,
Hardware Requirements
- Modern Processor
- HDD : 2GB free space
- RAM : 4GB or greater
- Network Connection with internet access
Software Requirements
- OS : Windows 7 or greater / Linux
- Full administrator Access
- Apache >= 2.4.7
- PHP >= 5.5.1
- MySQL >= 5.6.12
- NodeJS : v6.0.0
Installation Steps
- Once downloaded the Web-App Installer zip package, extract the files and copy it to the respective folder based on your web-server.
For Windows : Copy in C:\wamp\www\
For Linux : Copy in .../var/www/html/outputtime/
- Run outputtime (if name changed after copying the folder, provide that name) in your browser through
http://localhost/outputtime/
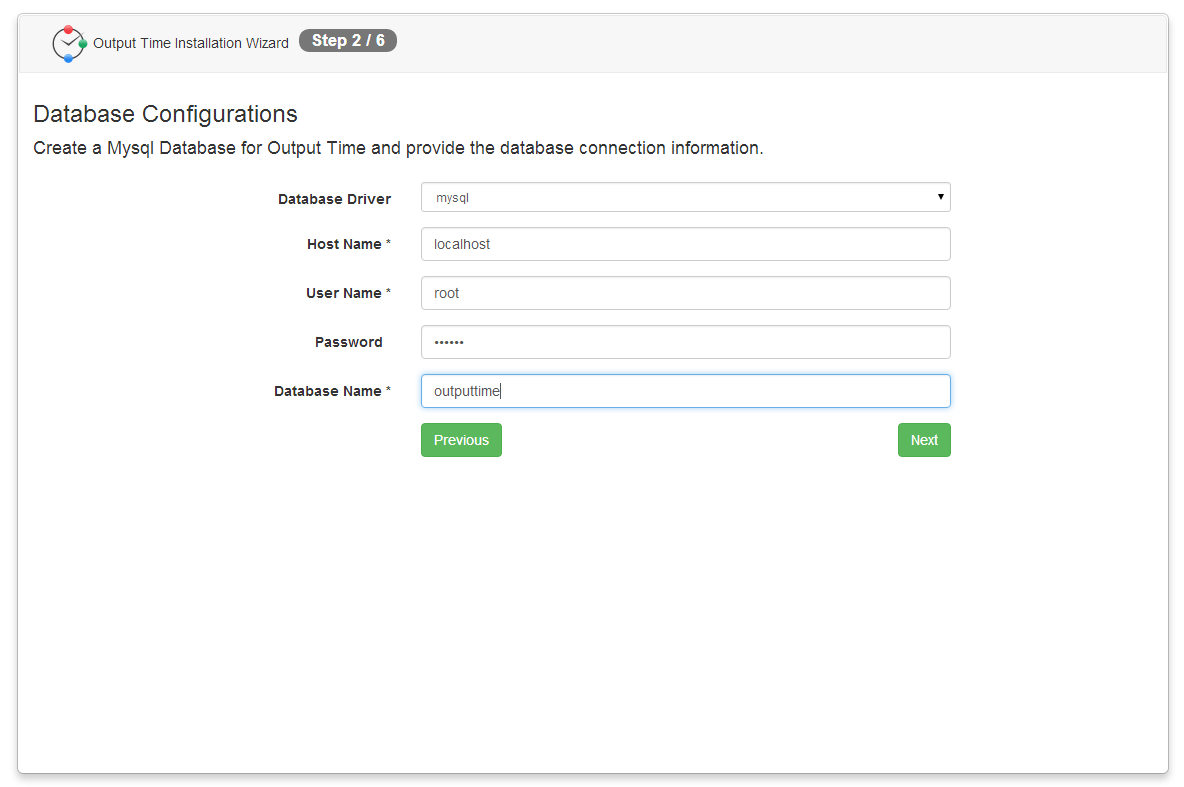
- Create a blank MySQL database as ‘outputtime’ and provide the same during installation.
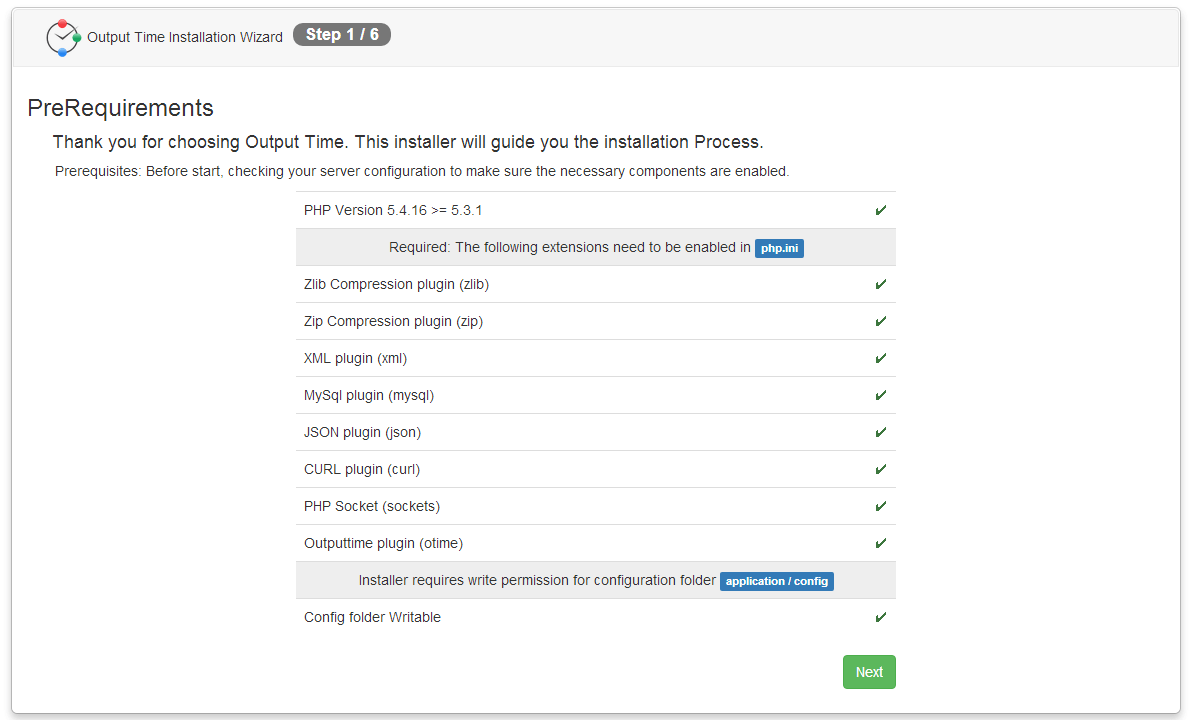
- Check whether all the pre-requirements are installed and enabled.
You must have to fulfill the the following Prerequisites, before installing Output Time.
I ) Installer requires write permission for the configuration folder.
II) PHP version should be 5.3.1 and above.
III) You need to enable the PHP extensions in php.ini. Those Extensions are:
a) Zlib Compression Plugin
b) Zip Compression Plugin
c) XML Plugin
d) MySql Plugin
e) Jason Plugin
f) Curl Plugin
g) PHP Scoket
h) Output Time Plugin ( Plugin will vary for Windows and Linux )
After all plugins are enabled, you should restart Xampp to enable the settings.
In the Installer home screen, all plugins should be enabled with the “Yes” option and the Next button is active to move the next page of the installer.
- Configure Database by choosing Database Driver, providing Host name, User name, Password, Database Name (name that you provide during the creation of blank database) and click Next.
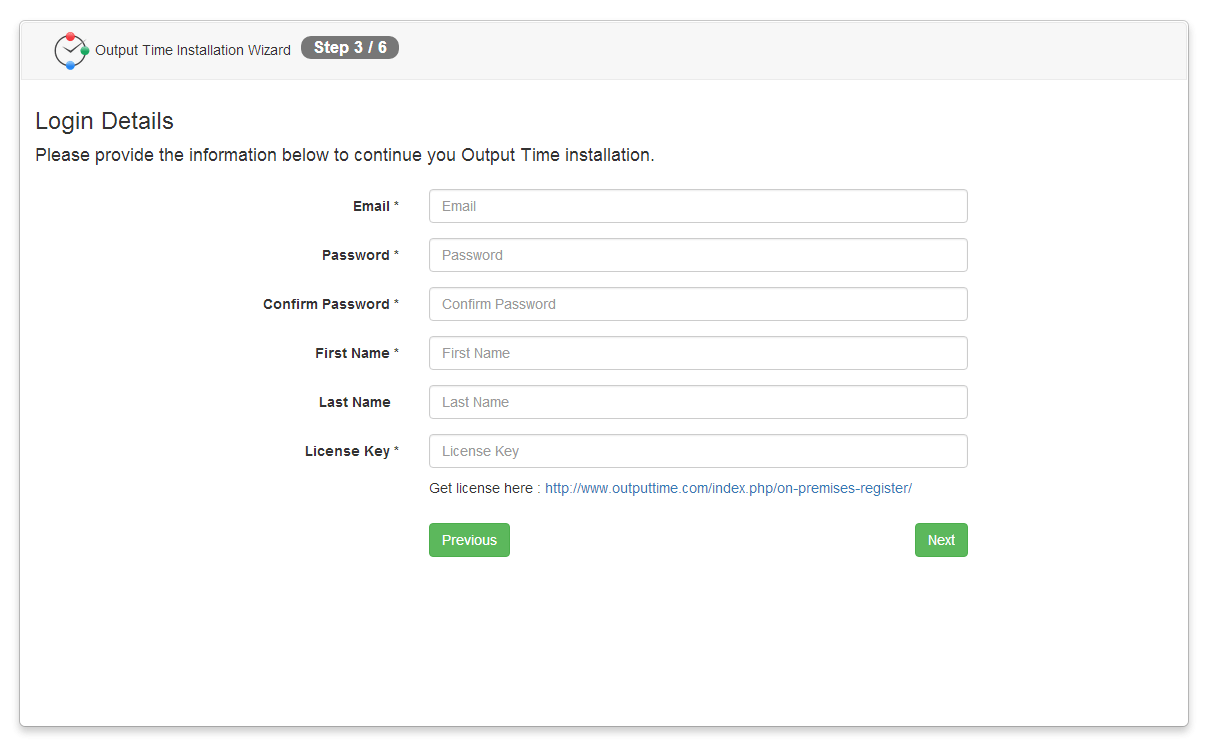
- Provide the Login Details and License Key. Also you are requested to remember Email and Password for future Login purpose then Click Next.
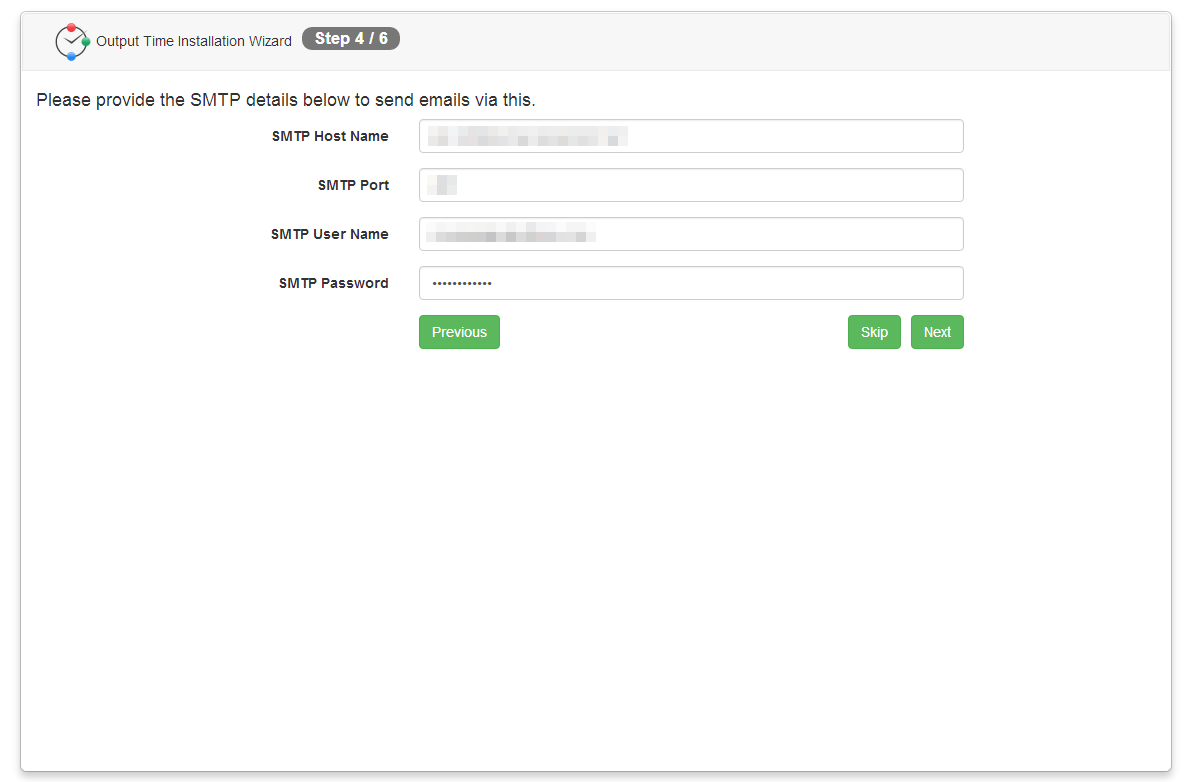
- Provide SMTP credentials for outbound emails or you can skip it.
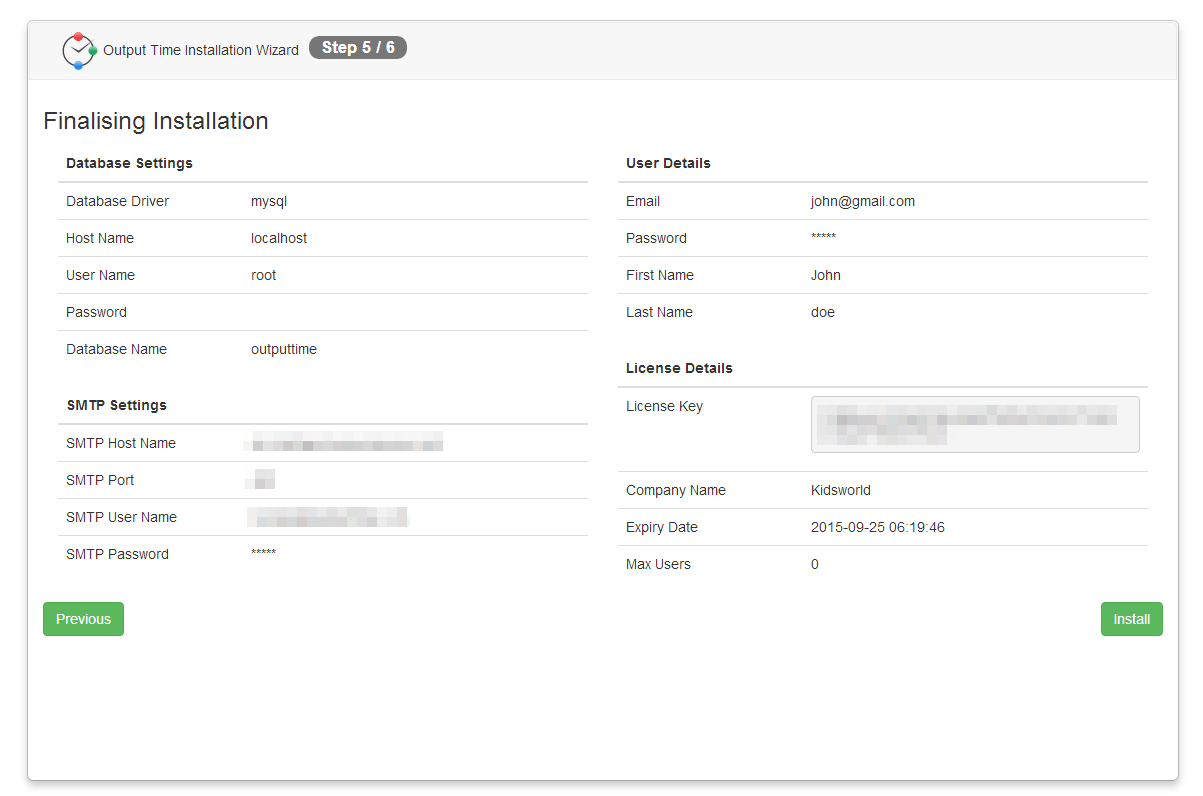
- Now verify all the provided details and ensure that those derails are correct and click Install. Otherwise click Previous to edit details.
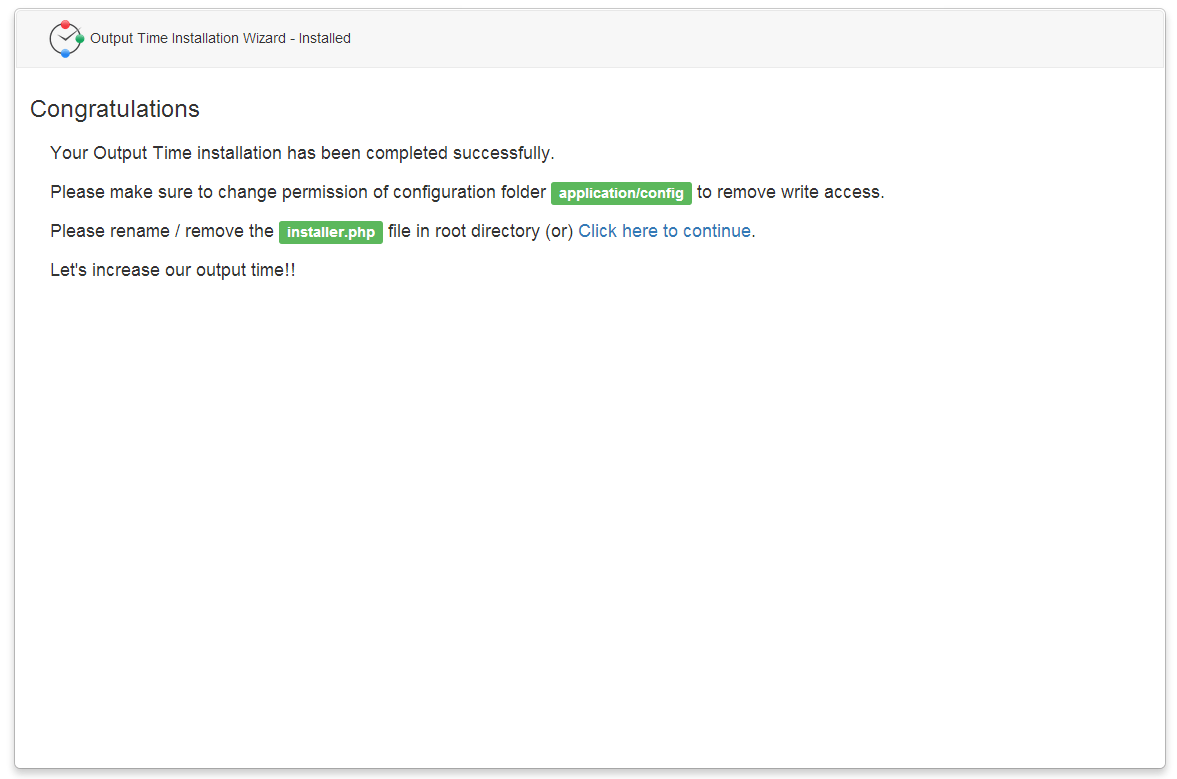
- On successful installation of Output Time, you will lead to “Congratulations” screen and you can continue to Output Time by clicking “Click here to continue” link.
Click here to Purchase Output Time On-Premises Version.
Note: To get notification about the tasks in Output Messenger, You have to configure Output Messenger in Output Time.
