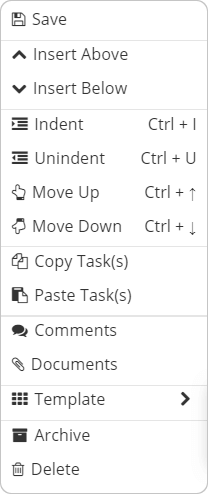
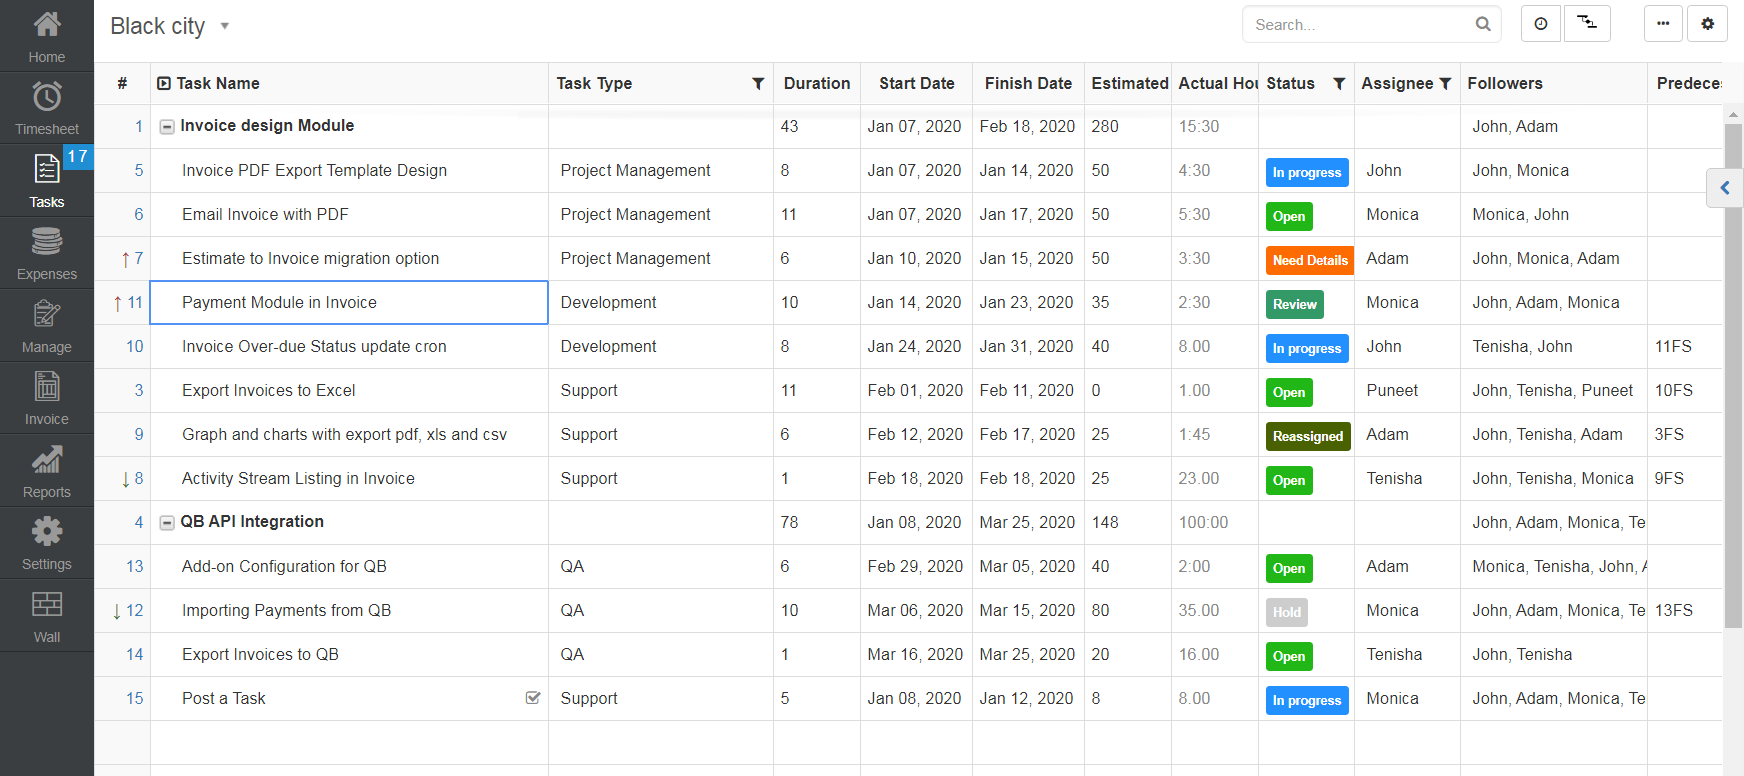
Task Menu displayed for all the users. Administrator can view and manage tasks of all the project whereas rest can manage the task of the project to which they are assigned. From here you can track time by starting timer, and can have a Graphical representation of task.
You can have two views in task menu.
- Detail View – appears as default, while choosing Task menu.
- Compact View – Its a summarized view.
You can shift between these views using Settings icon on the top right corner.
Task Listing
Tasks to which you are delegated as Assignee or Follower will be listed for you. All the tasks are listed with task name, task type, its duration along with start and finish date, its estimated and actual hours, its current status, users to whom it was assigned, followed and with its predecessors. You can also list task of particular project using filters.
You can add / remove column’s header using Columns Options inside the Settings option.
Column Customization
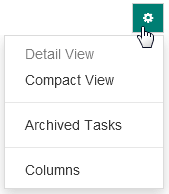
You can filter provided columns, using the settings icon located on the top-right side of the page.
You can just Click Columns through ![]() icon.
icon.
 Select the columns and rearrange if you’d wish.
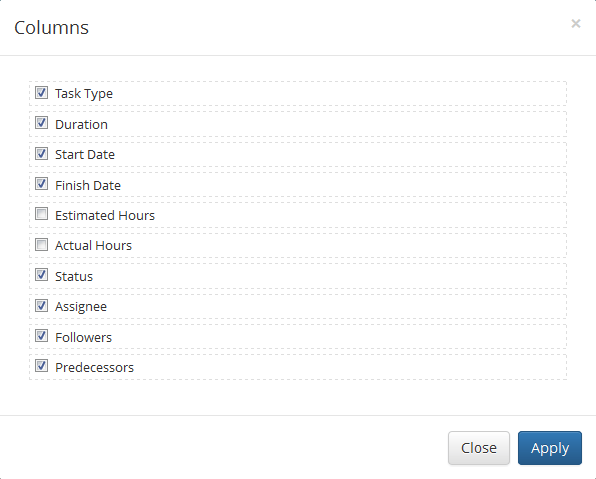 Click Apply to Save changes or Close to Cancel changes.
Posting Task
To post a task, provide the task name by selecting the project and its task type.
Provide the duration of the task (in days), with which finish date will be automatically calculated and displayed based on assigned the start date and Calendar settings (whether “Skip Non-Working Days & Holidays while scheduling” or not). You can modify start date and duration while task rescheduling.
While creating a task, its status will be assigned as “open” as default and you can changed it.
Provide estimated hours and assign users and followers.
Provide Predecessor to the task, if any and click save.
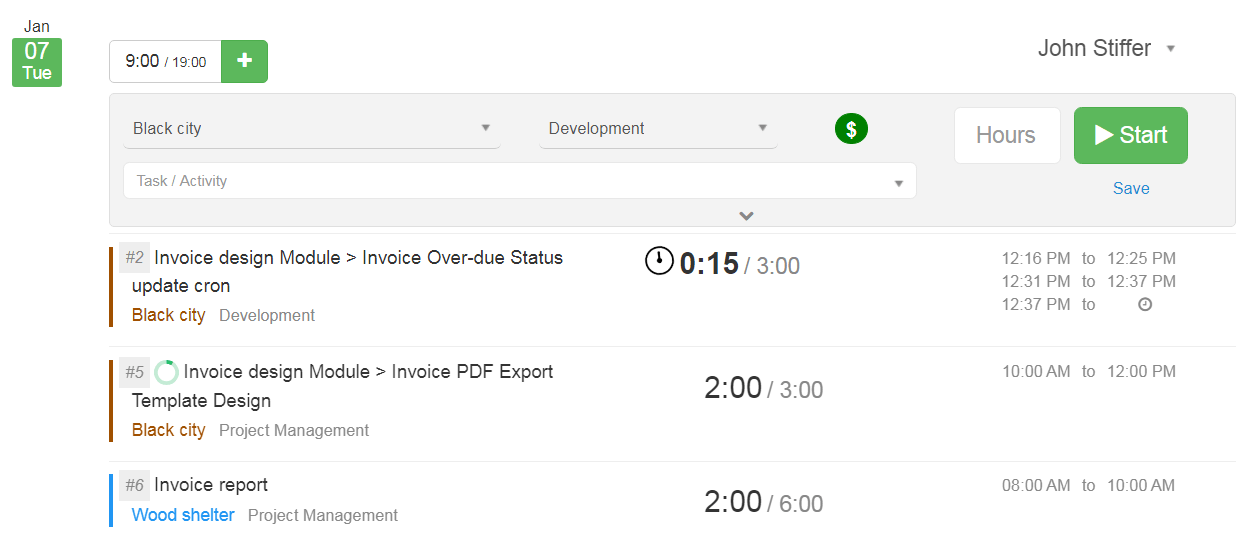
After Clicking “Save” in Task View, it will get updated and listed in timesheet page of the assigned user. Also the total number of task you have will be indicated near Task menu.
Formatting tool bars
Assignee and Followers
Handling lot of tasks among team members will surely get you into confusion. In some cases, more than one users may work in same tasks, to avoid this confusions and to know who is doing what, we used an interesting methodology, The methodology in bug tracking system. Assignee and followers are to prevent overlaps in each effort.
- Assignee – The user who has to work currently in a task and assignee should be a single user.
The assigned user can see the task in his timesheet and track time for that task. The assigned user can see / track/post time on the specific task in his timesheet, as long as he is assigned. If the assignee is changed, the user can no longer post/track time, but the tracked time will be saved. - Followers – Followers can get notification through Output Messenger. Follower can’t post or track time and if he is canceled / deleted from follower, he can no longer see that task.
To cancel assignee or follower from a task, click on the specific task’s assignee or follower cell respectively and click the “Cancel”(![]() ) icon associated with each alloted user.
) icon associated with each alloted user.
Predecessor
Predecessor task is one, whose schedule (start and finish date) decides its successor task’s schedule. You can set dependencies using it.
To Start Timer
Click “My Hours” button and click Start icon for the task you are going to work on. You can also post time directly by clicking in the respective cell (if “Start & end Time” is checked in Timesheet Setting).
Task Info
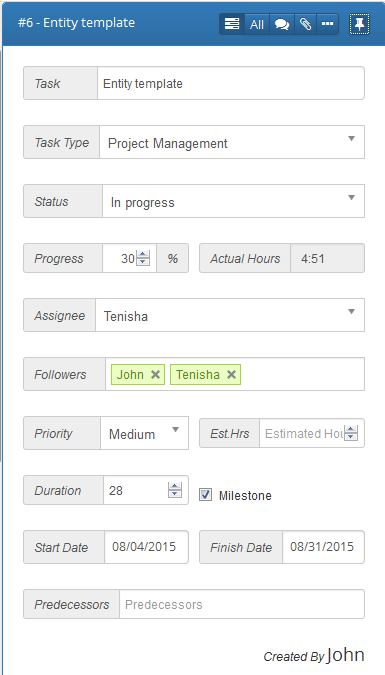
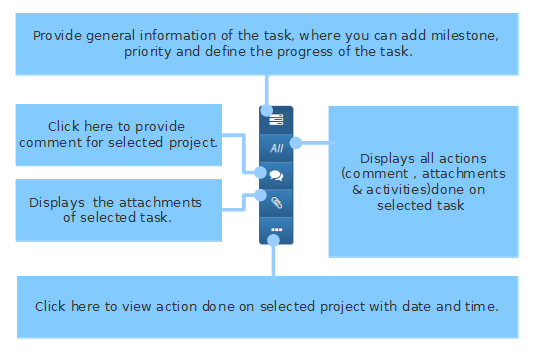
Task Detail view will provide all the information of the task. You can edit task, assign priority, add comments and attach files for the task from here. In Task view page, Click upward arrow ![]() to have task detail page at the bottom panel.
to have task detail page at the bottom panel.
Task Details
This will provide you, the basic information for the task. You can also add priority, change status, assign users from here. Edited information will be updated in the selected task’s row_grid on saving. Project Managers can assign the task for themselves or other members with the task’s Progress.
Assigning Priority
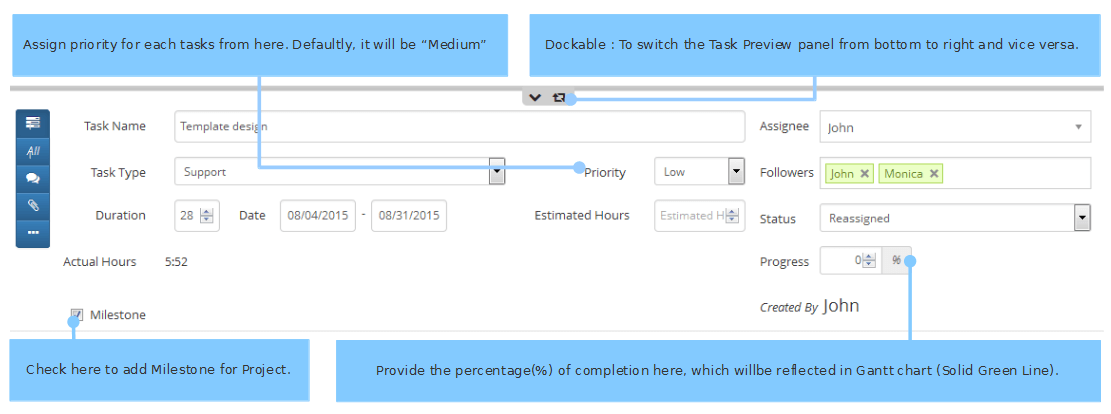
Select the respective task. By default, it is set as Medium Priority and you can choose the priority in task detail view’s general tab and click save. High Priority tasks are updated with ![]() upward arrow whereas low priority tasks are updated with
upward arrow whereas low priority tasks are updated with ![]() downward arrow near the task index.
downward arrow near the task index.
Set Milestone
Check the Milestone Checkbox to set a task Milestone.
Progress
Providing the progress (percentage of completion) will be reflected in the Gantt Chart. It will be indicated as a Solid Green Line at the top of task bar.
Add Comment
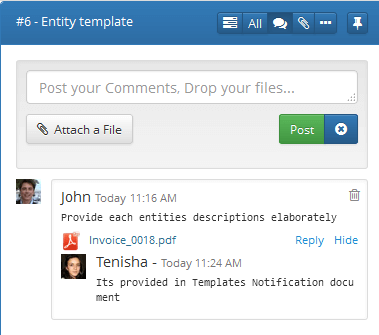
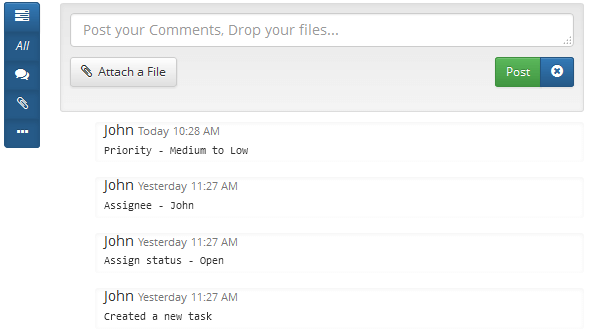
You can add comments and attach documents related to task in task detail view.
Click upward arrow at the bottom of the page.
Click Comment icon, enter the comments and click post.
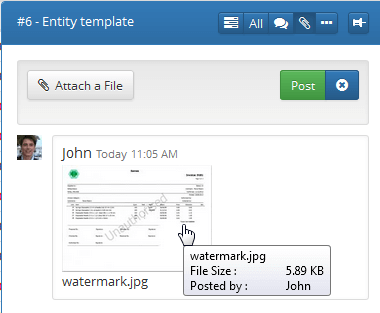
You can attach files with the comments during posting.
Attachments
You can attach documents and images by drag and drop the files from your computer in the area provided.
You can click on the Browse button and add the documents for the tasks.
You can delete the files from the task, by clicking the remove icon on the right side of the files.
Task Activity
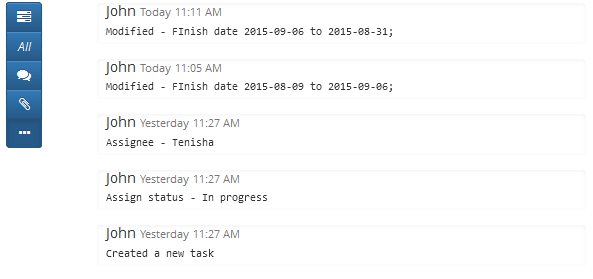
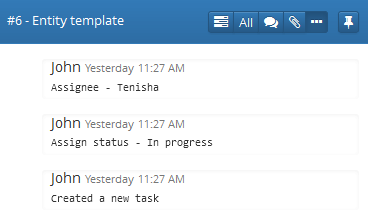
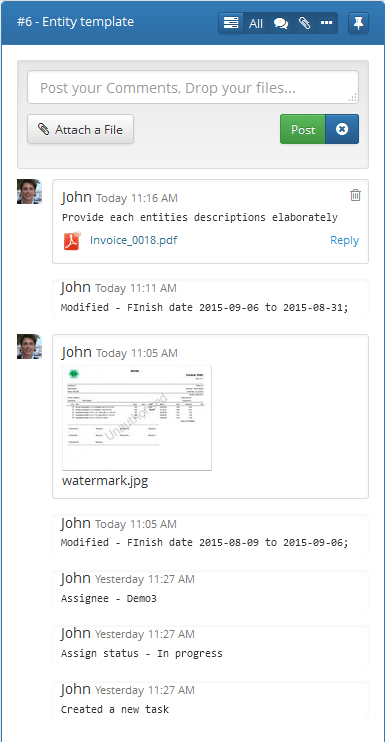
It will gives you a brief details about the Task Actions(create, edit, change status etc) done on the selected task with date and time of modification.
All -Task Activity
It shows all comments, attachments and activities histories in order. Posting comments, attachments can be done from here.
Task Template
Create a template for a set of Tasks and insert the template in any projects whenever required. Task Templates can be created for any set of tasks in any project.
